
Planting
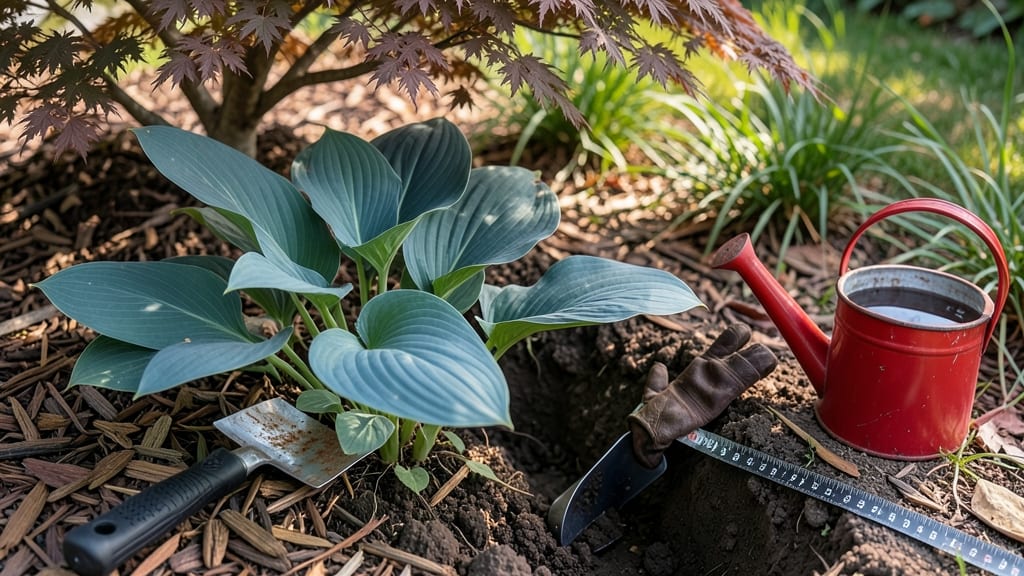
Planting bulbs and perennials together creates a garden that blooms from early spring through late fall. 🌱 I learned this trick after watching my tulips emerge through last year's fading hostas—nature's perfect timing.
The secret lies in matching growth cycles: bulbs shoot up early, perennials take over as they fade, and both support each other's health.
Start with soil prep: loosen the bed to 12 inches deep and mix in compost. Plant bulbs first at 2-3 times their height (daffodils go deep, crocuses stay shallow), then tuck perennials around them with roots spread naturally.
Spacing matters—give perennials room to fill in while leaving bulbs space to multiply underground.
By summer, you'll have lush foliage hiding bulb foliage as it yellows, then fresh blooms returning next spring. The perennials provide shade for bulbs in summer heat, while bulbs break winter dormancy first, giving you color when little else is growing.
This combo works in borders, under trees, or even containers. Just avoid pairing aggressive spreaders (like mint) with delicate bulbs. With proper spacing and soil, your layered garden will thrive for years with almost no extra effort.
📚 In This Guide
- What you need
- Instructions
- Tips and common mistakes
- Wrapping up and next steps
What you need
- ● Bulbs: Choose spring-flowering bulbs (e.g., tulips, daffodils, hyacinths) and summer-flowering bulbs (e.g., alliums, crocosmia). Aim for 3–5 bulbs per square foot for a lush look.
- ● Perennials: Select clump-forming or spreading perennials (e.g., hostas, coneflowers, sedum) with varying heights (6" to 36"). Plan for 1–3 plants per square foot, depending on size.
- ● Garden soil: Well-draining, amended with 2–3 inches of compost or organic matter (e.g., peat moss, coconut coir).
- ● Mulch: 2–3 inches of organic mulch (e.g., shredded bark, straw, or pine needles) to retain moisture and suppress weeds.
- ● Garden fork or tiller: For loosening soil to a depth of 12–18 inches.
- ● Hand trowel or bulb planter: For digging individual holes (6" deep for most bulbs).
- ● Measuring tape or ruler: To ensure proper spacing (bulbs: 4–6" apart; perennials: follow label guidelines).
- ● Watering can or hose with a gentle spray nozzle: For post-planting hydration.
- ● Garden gloves: To protect your hands from thorns or rough soil.
- ● Slow-release fertilizer: A balanced 10-10-10 or bulb-specific fertilizer to boost early growth.
- ● Plant markers: Biodegradable labels to track bulb varieties (especially useful for tulips, which multiply!).
- ● Epsom salt: A spoonful mixed into planting holes for magnesium-rich soil (great for perennials like hostas).
- ● Soil test kit: To check pH (ideal range: 6.0–7.0 for most bulbs/perennials).
- ● Drip irrigation system: For automated, deep watering (especially in dry climates).
- ● Knee pad or small stool: For comfort during long planting sessions!
How to layer bulbs and perennials for a stunning year-round garden
This is how I create gardens that bloom from early spring through late fall—no empty spaces, no wasted sunlight.
🌱 Step 1: Choose Complementary Plants by Height and Bloom Time
Start by grouping perennials by mature height—tallest in back, mid-height in middle, and low-growing or spreading types in front. I always pair early bloomers like tulips and crocuses with perennials that emerge later, like hostas or asters. For example, plant 3-inch tall daffodils under 2-foot tall daylilies—the bulbs will provide spring color while the perennials fill in by summer.
Check bloom times too. If you want continuous color, layer bulbs that flower in early spring with perennials that bloom in late spring or summer. The bulbs fade just as the perennials take over. I sketch a simple garden map first—it saves time and prevents overcrowding later.
🪴 Step 2: Prepare the Planting Area for Drainage and Soil Health
Clear the area of weeds and loosen the soil to a depth of 12 inches with a garden fork. Bulbs hate soggy roots, so if your soil drains poorly, mix in 2-3 inches of compost and a handful of coarse sand or perlite per square foot. I always test drainage by digging a hole, filling it with water, and watching how quickly it drains—if it takes more than 30 minutes, amend the soil.
For perennials, work in a 2-inch layer of compost into the top 6 inches of soil. This gives roots plenty of organic matter to establish without competing with the bulbs for nutrients. A balanced 10-10-10 fertilizer sprinkled into the soil at planting time gives both plants a slow-release boost.
☀️ Step 3: Plant Bulbs First, Then Perennials in Strategic Layers
Plant bulbs in clusters of 5-7 at a depth equal to 2-3 times their diameter—so 6-inch tulips go 12-18 inches deep. Space them 4-6 inches apart and water lightly to settle the soil. I use a garden trowel to mark bulb locations with small flags so I don’t accidentally disturb them when planting perennials later.
After bulbs are in, plant perennials around and slightly above them. For example, place 18-inch tall coneflowers behind 4-inch tall grape hyacinths so the bulbs peek through in spring while the perennials provide height and texture later. Leave 6-12 inches of space between perennials, depending on their mature size—crowding leads to weak stems and fewer blooms.
💧 Step 4: Mulch and Water for Establishment
Spread a 2-inch layer of mulch over the entire area, keeping it 2 inches away from bulb and perennial stems to prevent rot. I use shredded bark or straw—both retain moisture and regulate soil temperature. Water deeply right after planting to help roots settle, then water again every 5-7 days until the perennials are established (about 4-6 weeks).
Watch for signs of stress: wilting leaves or yellowing foliage means the soil is either too dry or too wet. Bulbs and perennials both prefer soil that’s moist but not soggy. Once the perennials are growing strongly, reduce watering to once a week unless your area experiences extreme heat or drought.
⏰ Step 5: Maintain Through Seasons for Long-Term Beauty
In early spring, remove any dead or yellowed foliage from perennials but leave bulb leaves until they turn brown naturally—this is how bulbs store energy for next year. I mark the spots where bulbs bloomed with small stakes so I know where to expect new growth. Fertilize perennials lightly in early spring with a 5-10-10 fertilizer to encourage lush growth.
In late summer or early fall, cut back perennials that have finished blooming but leave seed heads or interesting foliage for winter interest. Bulbs will begin storing energy for next year’s blooms, so avoid disturbing the soil around them. A final light mulch in fall helps insulate bulbs through winter and keeps perennials protected from freezing temperatures.
Tips & tricks for planting bulbs and perennials together
Here's what nobody tells you about creating gardens that stay vibrant all season long.
Visualize Before You Plant: Sketch a simple garden map before digging—it's the secret to avoiding overcrowding and wasted sunlight. I mark bulb locations with small flags so I don't accidentally disturb them when planting perennials later. This step alone prevents the most common mistake: planting too close and creating competition for nutrients. The 6-12 inch spacing between perennials mentioned in Step 3 becomes much clearer when you see it on paper first.
Soil Test First: Before amending your soil in Step 2, conduct a simple drainage test—dig a hole, fill it with water, and time how long it takes to drain. If it takes more than 30 minutes, you'll need to mix in that 2-3 inches of compost and coarse sand. I've learned the hard way that soggy soil kills bulbs faster than anything else. A soil test kit (around $20) can also reveal pH levels—most bulbs prefer slightly acidic soil (pH 6.0-7.0).
Layering Hack: When planting perennials around bulbs in Step 3, use the "rule of thirds" for height. Place your tallest perennials in the back third of the space, mid-height in the middle third, and low-growing types in the front. This creates natural depth and prevents the perennials from shading out the bulbs completely. For example, 18-inch coneflowers work beautifully behind 4-inch grape hyacinths—the bulbs get their sunlight while the perennials add structure.
Mulch Like a Pro: That 2-inch layer of mulch in Step 4 isn't just for looks—it's a game-changer. Keep it 2 inches away from stems to prevent rot, and use shredded bark instead of wood chips. Bark mulches break down slower, maintaining moisture better during those 5-7 day watering intervals. I also add a thin layer of straw around bulb clusters for extra insulation during winter. This simple step cuts watering time by nearly 30% in my experience.
Pro Tips for Plant Bulbs And Perennials Together
- Here's what nobody tells you about creating gardens that stay vibrant all season long.
- Visualize Before You Plant: Sketch a simple garden map before digging—it's the secret to avoiding overcrowding and wasted sunlight.
- Soil Test First: Before amending your soil in Step 2, conduct a simple drainage test—dig a hole, fill it with water, and time how long it takes to drain.
Frequently asked questions
Got questions about planting bulbs and perennials together?
You’re not alone! Here are answers to the most common ones to help you create a stunning, low-maintenance garden.
When is the best time to plant bulbs and perennials together?
The ideal time is early fall (6-8 weeks before the ground freezes) for spring-blooming bulbs (like tulips or daffodils) and early spring (as soon as the soil is workable) for perennials. This gives bulbs time to root before winter while perennials establish themselves before summer heat. For summer-blooming bulbs (like dahlias), wait until spring.
Will planting bulbs and perennials together stunt their growth?
Not if done right! Bulbs and perennials have different root zones—bulbs thrive below the soil surface, while perennials spread above. Choose perennials with shallow roots (like hostas or ajuga) to avoid competing with bulbs. Just avoid aggressive spreaders (like mint or bamboo) that could crowd out your bulbs over time.
How long until I see results after planting?
Spring-blooming bulbs (like tulips or crocuses) will reward you with color in 6-8 months—often the first sign of spring! Perennials may take 1-2 years to fully fill out, but you’ll see gradual growth each season. Patience pays off with year-round interest once established!
Can I use this method in containers or small spaces?
Containers are perfect for layering bulbs and perennials. Use a deep pot (at least 12 inches) with drainage holes, and plant bulbs at the bottom, followed by smaller perennials. Choose compact varieties (like mini hostas or dwarf daffodils) to maximize space. Just ensure the container gets enough light for both plants.
What do I do if my perennials die back before the bulbs bloom?
Don’t panic—this is normal! Many perennials (like ornamental grasses or ferns) go dormant in late summer to let bulbs like tulips or alliums shine. Once bulbs finish blooming, trim dead foliage after it turns yellow (6-8 weeks post-bloom) to feed next year’s flowers. If perennials stay brown, they may need more water or better drainage.
Wrapping up and next steps
Planting bulbs and perennials together isn’t just possible—it’s a game-changer for year-round beauty and low-maintenance gardens! By layering these plants thoughtfully, you create depth, texture, and seasonal interest while saving space and effort.
Whether you’re a seasoned gardener or just starting, this approach makes your outdoor space thrive with minimal fuss.
Now that you’re armed with the know-how, grab your gloves and get planting! Start small with a single bed or container, observe what works, and let your creativity grow. Happy gardening—your future blooms will thank you! 🌱✨